Upload your photo
Choose a sharp view of a single object. Include its entire outline.
Turn a single object photo into an editable 3D model. Sign in for one free geometry-only GLB, or generate a textured model with paid credits.
Choose a sharp view of a single object. Include its entire outline.
The model estimates depth, fills in hidden surfaces and projects a texture onto the mesh.
Rotate the preview, save the GLB and open it in Blender to adjust scale, materials or geometry.
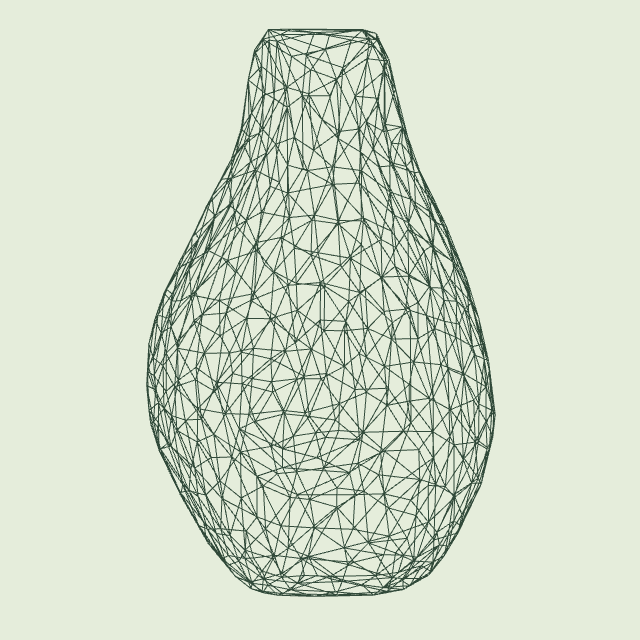
Start with a small, solid object whose outline you can recognize from several angles. Rotate the avocado sample and compare its mesh with the reference image. For a physical print, the outer shell needs to enclose a volume. A convincing skin texture can hide a hole that becomes obvious once you turn off the material. Open the mesh in your editor, check the underside, set a real measurement, then export for slicing.
Check the layer preview through the widest and narrowest parts before sending a file to your printer.
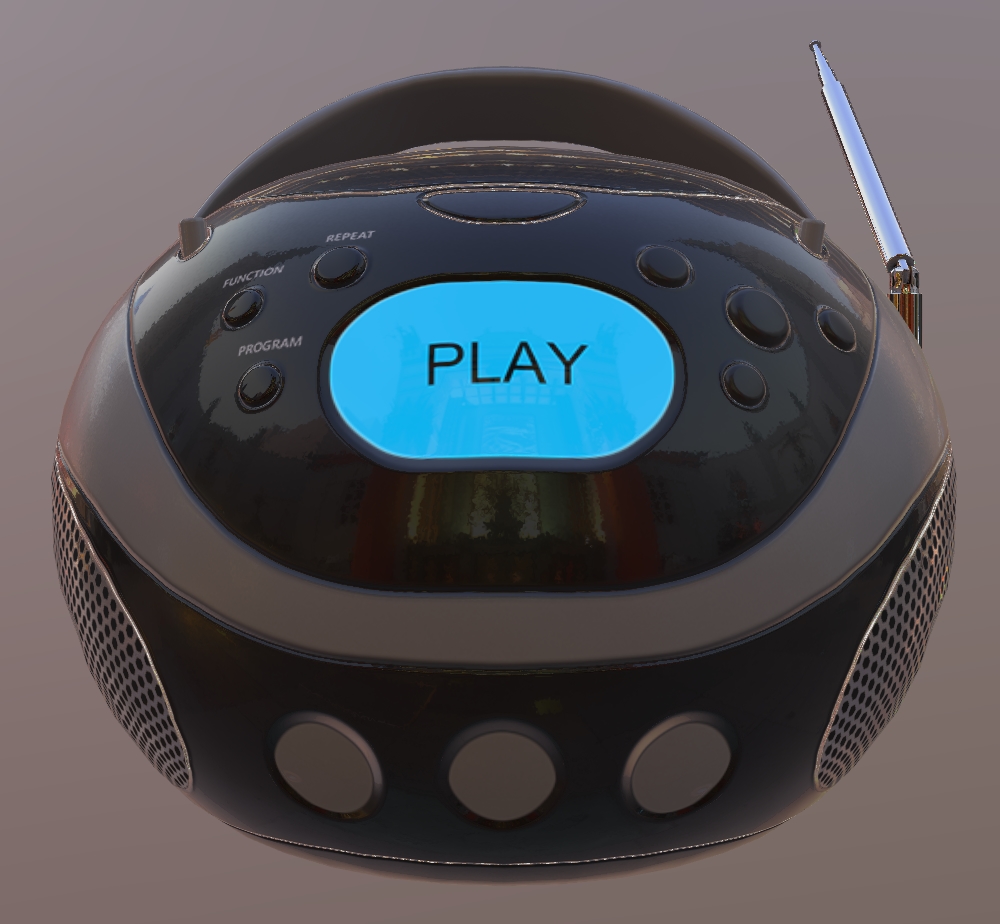
A radio on a shelf may appear only a few dozen pixels wide in a game. Place the prop where the player will see it and check the handle, the box outline and the speaker recess at that distance. A detailed texture may already carry the knobs and lettering. Save geometry work for features that change the outline or cast a visible shadow. Test a simple collision shape separately from the visible mesh.
Judge the prop with the game camera and the scene lighting, including the view a player gets when walking behind it.
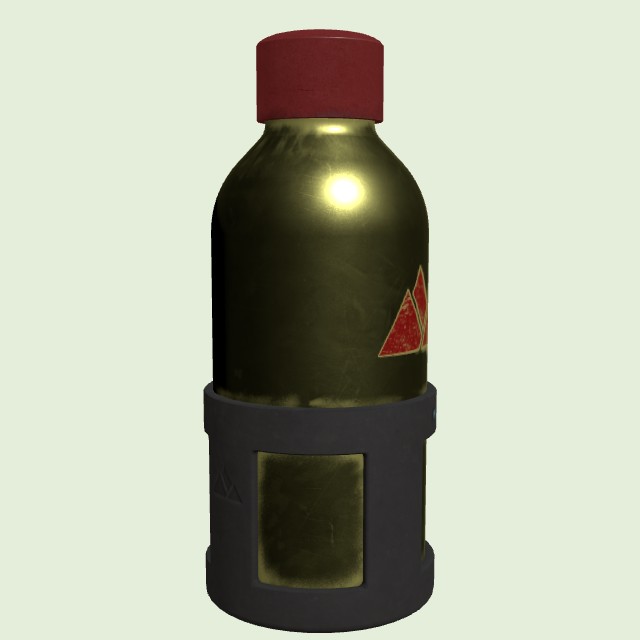
Use a bottle mockup to try framing, background colors and lighting before arranging a product shoot. Turn it a quarter turn and watch the label, the neck and the transition into the cap. A photographed reflection can stay fixed in a texture when the light moves. Rebuild glossy materials and replace distorted label artwork before presenting the image as a faithful depiction of a product for sale.
Keep the original product photos alongside the model so you can compare proportions and branding.
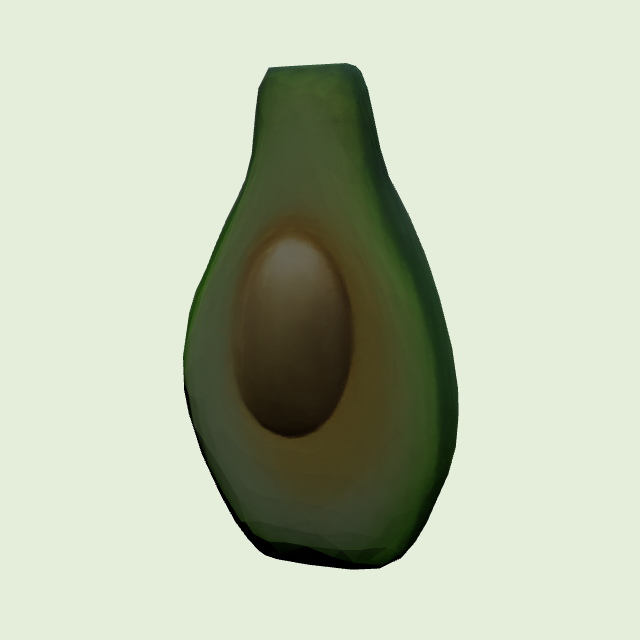
For an AR placement test, import the GLB into your chosen viewer or app pipeline. Place the object on a virtual floor and check whether its base meets the surface. Set its dimensions from a ruler measurement and position the origin where you want the object to rest. Walk around the placement on the target device. A back face that never appeared in the source photo can take up the entire screen from this angle.
The browser preview lets you inspect the asset before you take it into a separate AR application.
Turn a grayscale height field into a tangent-space normal map.
Extract the geometry from a GLB and download a binary STL.
Mirror a texture across its edges to make a repeating tile.
If you need a prop to try in a scene this afternoon, a single image gives you a starting mesh you can turn around immediately after generation. If you need a replacement cap that screws onto a specific bottle, measure the thread and build that shape to specification. Both workflows can meet in the same project. Keep the generated body for a composition test and replace a critical feature with measured geometry.
| Decision | Single-photo reconstruction | Modeling by hand |
|---|---|---|
| Time | Upload, wait for the queue, then inspect and edit the result. | Build each form and assign materials. The detail level sets the workload. |
| Cost | Try one free generation per account. Studio covers repeated generations. | Budget for artist time, including revisions. Free modeling software is available. |
| Precision | Hidden surfaces and depth are estimated from visible cues. | Dimensions, alignment and clearances can follow measured references. |
| Best fit | Scene props, composition studies and early visual prototypes. | Dimensioned parts, specified topology and close-up hero assets. |
Choose a JPG or PNG. Larger images are resized before upload. A phone set to save HEIC images may need to export a JPEG first. For a clearer subject, crop away unused background before lowering the quality. Zoom in after exporting and check that fine edges still stand out. Heavy compression around a handle can blur the gap that separates it from the body.
The JPG to 3D model workflow produces a paid GLB with geometry and a texture. Save this version first. It is the easiest one to reopen for material edits, and a useful reference when you want to compare two attempts. For a print mesh, open the GLB to STL Converter and select the units your slicer expects. STL keeps the triangles and drops the visual material. Keep the GLB alongside it if you will also need a color render.
Consider a mug photographed from the front. The image might show its rim and the outside of the handle, while hiding the inside of the handle and most of the base. Several different shapes could produce those same pixels. The converter estimates one plausible shape. Turn the preview until you can see the missing side, then compare it with the real object if you have it to hand.
A picture to 3D model conversion also leaves physical scale unresolved. A miniature chair and a full-size chair can fill the same frame. Measure a known span and use that number in your editor. Clear glass, polished metal and fine mesh present a different problem: background colors and reflections can look like part of the surface. If the outline looks ambiguous, take another view using the photo selection guide below before spending time repairing the mesh.
Photograph one object against a plain background in diffuse light. Use a three-quarter angle so the front, side and top are visible. Leave space around handles and thin edges. Glass, mirrors and motion blur can obscure the silhouette.
Before you convert a photo to 3D online, shrink the picture to thumbnail size. Can you tell where the subject ends and the background begins? Look for contact points where a dark foot merges into a shadow or a white rim disappears against a wall. Move the object or change the backdrop until those edges are visible. For an image to 3D model test, change one thing between attempts so you can tell which choice improved the result.
Yes. Sign in with Google for one free geometry-only generation per account. This allowance is granted once.
Choose a JPG or PNG. Larger photos are compressed in your browser before upload. Download an untextured GLB with the free trial, or a textured GLB with paid credits. To extract geometry, open the GLB to STL Converter.
Sign in with Google to generate a model. Guests can explore the sample and use all three local tools as often as they like.
Allow about a minute for reconstruction plus any queue time. You can refresh this tab while processing. After saving, download your free model within one hour or your paid model within seven days from account history.
Use a reference you own or have licensed for your intended use. Check any rights to the depicted design before distributing the result.
We do not claim ownership of your uploads or generated models. Third-party rights in the source object or image still apply.
Set the physical dimensions, inspect wall thickness and repair open surfaces in a mesh editor before slicing. A single photo does not supply exact dimensions.
Sign in and choose a photo to use your one-time free generation. You can rotate and download the sample avocado at any time, even after the free allowance has been used.
Yes. Choose a JPG or PNG. On an iPhone, export HEIC photos as JPEG first. Step back enough to fit the entire object in frame, tap the object to focus and avoid portrait-mode blur around small details. Check the exported image itself before you upload.
The GLB carries the mesh and its visual appearance together. An STL records the triangles that describe the surface. Choose GLB for an editable textured asset and STL when your slicer needs geometry. Check the physical size after importing either file.
Yes. Import the downloaded GLB through the glTF import option. Orbit around the object in material preview, then switch to solid shading to see the shape beneath the texture. Save your edits in a Blender project and keep the original GLB for comparison.